The Peyton was produced for three years.
The Peyton is part of the Medallion line of Hamilton watches and as such, it's a higher grade watch in the Hamilton line up. It has a 10K yellow gold filled case and a dial with yellow embossed numerals and dots.
As purchased, my Peyton was very dirty and I was hopeful that I'd be able to clean up the grungy dial... but you never really know until you try.
This watch opens through the back... but I only noticed that after I pulled the crystal to remove the movement through the front. I didn't really have to pull the crystal after all - but that's okay, I needed to buff it anyway.
The dial has ridges like a million concentric circles. These textured dials are a challenge to clean as the grunge sticks in the valleys.
I've got to tell you that I was shocked (and pleased) to see a 22 jewel 770 movement under the dial. I was really expecting to find a Swiss movement. I should have known, seeing as how it's in the Medallion series. The 770 is regarded as the best movement Hamilton ever made.
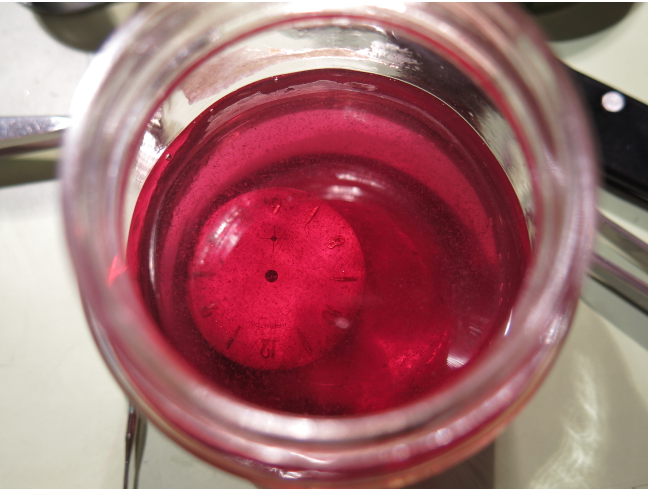
I pulled the dial and put it in my cleaning solution to soak for a few minutes.
While the movement parts were in the ultrasonic cleaner, I polished the crystal on my buffing wheel.
I'll spare you the blow-by-blow disassembly steps but after being cleaned, all of the parts are set out to dry.
The trick to reassembling a 770 movement is getting all four train wheels to line up with their jewels. In this shot the barrel bridge is in place and the wheels are awaiting the train bridge that accommodates all four wheels at one time. The end of each wheel's axle is a tiny pivot - and each pivot goes in it's own respective ruby jewel.
It might be hard to make out, but this is the angle that I look at the movement in order to poke the four wheels into position. When everything is lined up right the bridge will literally drop into place. I've learned the hard way that if you have to force the bridge down it is a clear sign that something's not right and disaster awaits you if you try to force it. Those little pivots will break off with a heartbreaking snapping sound.
Before I put in the train bridge screws I gently prod the center wheel to see if the pallet fork will move. It should move freely with absolutely no discernible resistance. If all is well I then install the three train bridge screws.
With some tension applied to the mainspring (by giving it a few winds), the last thing to go on is the balance assembly.
Then the watch goes onto the timer. If all is well the last step is to install the cleaned up dial and hands and reassemble the watch in it's freshly polished case.
 I think this Peyton cleaned up very nicely. It's not perfect but any more cleaning would risk losing the Hamilton printing and the seconds register. So the dial still shows some age - but hey, it's 50+ years old. I hope I look this sharp at 50 (that's not too far off unfortunately).


Hi Dan
ReplyDeleteGreat blog...
Interested in what solution you are cleaning up your dials with ?
Thanks, keep up the blog.
Jonathan
I use a jewelery concentrate for ultrasonic cleaners - straight up, let it soak, rinse in cold water, repeat. I also have a "baby toothbrush" that is super soft and use it to work concentrate into the numerals and markers.
ReplyDeleteThe trick is to get it cleaner but not so clean as you lose the printing.
However - Never clean a dial you're not willing to get refinished - as you stand a good chance of ruining it.